Video Clipping Guide: Using Animation and Clip Art in Editing
Video Clipping Guide: Using Animation and Clip Art in Editing
What Is Video Clipping and Why It Matters
Definition and Core Concepts
Video clipping is the practice of isolating specific segments from raw footage or pre-built assets to highlight key moments, reinforce a message, or build a visual narrative. Rather than using an entire recording, you extract only what serves the edit — a reaction shot, a product reveal, a motion graphic accent. The result is a tighter, more intentional piece of content.
Trimming vs. Clipping vs. Cutting
These three terms get used interchangeably, but they mean different things in practice. Trimming adjusts the in and out points of a single clip on the timeline. Cutting separates a clip at a specific frame so you can rearrange or delete sections. Clipping, by contrast, is the selective extraction and placement of segments — often from multiple sources — to build a sequence with purpose. It's the difference between cleaning up a recording and actively constructing a story.
When to Use Clipping in Projects
Clipping becomes essential when pacing matters. Social content, for example, loses audiences in the first three seconds; a well-placed clip that opens on action rather than setup changes everything. Beyond pacing, clipping lets you reuse assets across projects — pull a branded animation once, clip it appropriately, and it works across a YouTube intro, a LinkedIn post, and a product walkthrough without rebuilding from scratch.
Types of Clip Art and Animation Assets for Editing
2D Video Clip Art and Overlays
Video clip art spans a wide spectrum — from static PNG overlays you drop over a frame to looping motion graphics with full alpha channels. 2D overlays are workhorses: they reinforce on-screen text, draw attention to data points, and add polish without overwhelming the main footage. The best ones come pre-rendered with transparent backgrounds, so compositing takes seconds rather than minutes.
Video Clip Animation and Motion Graphics
Video clip animation elevates an edit from functional to memorable. Motion graphics — animated titles, kinetic typography, icon sequences — communicate complex information quickly. A 10-second animated explainer segment can replace 30 seconds of talking-head footage and hold attention far better. Animated clips for video editing also include transition elements, callout boxes, emoji bursts, and lower-thirds that signal professionalism without requiring a motion designer on every project.
Cartoon Clips and 3D Video Clips
Cartoon clips occupy a specific niche that delivers outsized engagement, especially in explainer videos, e-learning content, and social ads. Free cartoon clips are widely available in libraries like Pixabay and Pexels, though premium packs offer far greater variety and cleaner alpha channels. For projects demanding more visual depth, 3D clip assets and full 3D video clips introduce realistic reflections, dynamic camera movement, and spatial storytelling. A 3D clip of a rotating product or an animated environment can signal quality instantly — something 2D overlays simply cannot replicate. The tradeoff is file size and render overhead, so use them strategically.
Where to Source Free and Paid Assets Safely
Free Repositories and Marketplaces
For video clip art free options, Pixabay, Videvo, and Mixkit are solid starting points. Motion Array, Envato Elements, and Storyblocks offer subscription-based access to thousands of premium packs — worth the cost when you need consistent style across a campaign. For cartoon clips, sites like OpenClipart and Flaticon carry vector-based options you can animate inside After Effects or Canva.
Licensing and Attribution
Before downloading anything, verify the license type. CC0 assets require no attribution and allow commercial use freely. Royalty-free licenses grant usage rights without per-use fees but often restrict resale of the asset itself. Editorial-only licenses limit you to news and commentary contexts — using them in a commercial ad is a copyright violation. Trademarked characters are off-limits regardless of how they're packaged; even if a file appears on a public repository, the character itself may be protected.
Quality and Consistency Checks
A beautiful asset that breaks your timeline wastes more time than it saves. Before adding anything to your project, check that alpha channels are intact, the resolution matches your sequence (at minimum 1080p for most platforms), and the frame rate aligns with your timeline — 23.976, 25, and 29.97 are not interchangeable without careful handling. Codec compatibility matters too; not every NLE reads every format natively.
Preparing Assets for Seamless Video Clipping
Formats, Codecs, and Transparency
When transparency is required, three formats lead: MOV with ProRes 4444 encoding, PNG image sequences, and WebM with alpha channel support. ProRes 4444 handles compositing beautifully inside Premiere Pro and DaVinci Resolve. PNG sequences are universally compatible but generate large file counts. WebM with alpha is the right call for browser-based or web-exported work. Avoid JPEG for any asset requiring transparency — it flattens everything.
Resolution and Frame Rate Matching
Mismatched frame rates cause jitter. If your timeline runs at 24fps and you drop in a 30fps animated clip without conforming it, you'll see motion inconsistencies that look cheap. Match color spaces too — an sRGB asset dropped into a Rec.709 timeline will look washed out until you compensate. Most editing software handles this automatically if you configure sequence settings first and import assets second.
Organizing and Naming Conventions
Time spent organizing assets pays back tenfold across a project. A clear folder structure — separating motion graphics, cartoon clips, 3D video clips, audio effects, and raw footage — makes searching fast and reuse effortless. Name files descriptively: brand_lower-third_v2_ProRes4444.mov tells you everything you need before you open it. Avoid generic names like clip001.mov that force you to preview every file to find what you need.
Workflow: Integrating Animated Clips into the Timeline
Placement and Timing
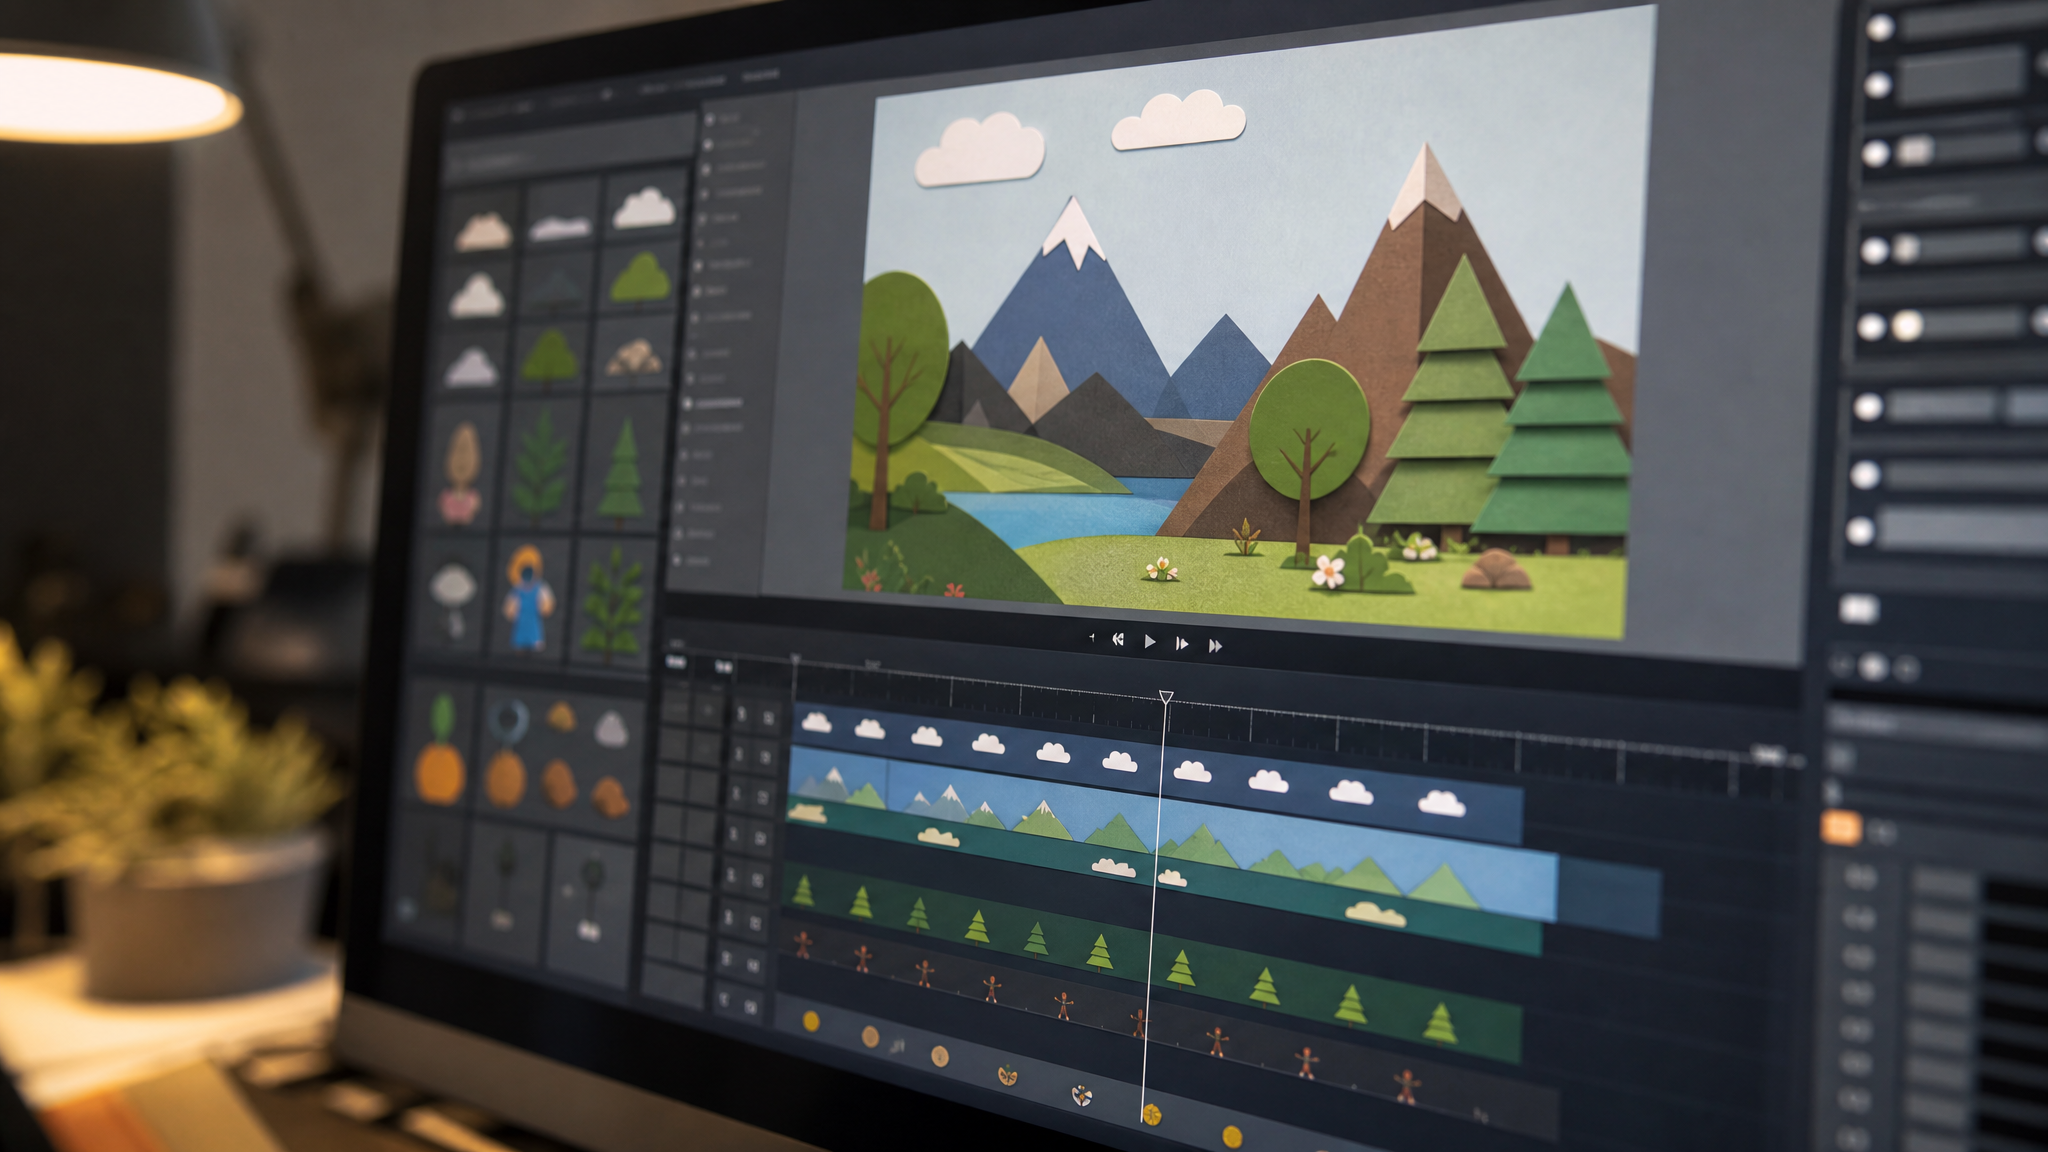
Rough-cut the core footage first. Lock the story, then layer in animated clips for video editing at deliberate moments — a motion graphic accent on a key statistic, a cartoon clip transition between chapters, a 3D clip product reveal at the 15-second mark. Placing animation before the narrative is settled leads to clutter and rework. Let the edit breathe before decorating it.
Compositing and Masking
Blend modes unlock creative control. Screen and Add modes work well for light-based overlays like particle effects; Multiply suits darker textures and shadows. Track mattes let you confine a video clip animation to a specific shape or area within the frame. For organic integration — making a cartoon clip appear to sit behind a real-world object, for instance — masking with keyframed paths achieves convincing results without complex VFX software.
Motion, Sound, and Effects
Keyframing position, scale, and rotation gives animated assets natural energy. Ease in and ease out on keyframes eliminates mechanical, robotic motion. Small scaling animations — a subtle bounce as a lower-third enters — read as polish to viewers even when they can't articulate why. Pair those moments with synchronized sound effects: a quick whoosh for a transition, a pop for a callout. Audio cues reinforce the visual rhythm and make animated accents feel intentional rather than decorative.
Optimization and Export Best Practices
Compression Without Quality Loss
H.264 remains the most universally supported codec for delivery, but HEVC (H.265) and AV1 both achieve smaller file sizes at equivalent or superior quality — useful when distributing across platforms with file size caps. For any project where transparent elements need to survive export, ProRes 4444 or DNxHR with alpha are the professional standards. Match bitrate to content complexity: high-motion 3D video clips need headroom that a static interview does not.
Platform-Specific Outputs
Export alternate cuts for every major platform rather than cropping one master file. A 16:9 master for YouTube, a 9:16 vertical cut for Instagram Reels and TikTok, and a 1:1 square for LinkedIn each require repositioning overlays and animated clips to stay within safe zones. What looks centered on a wide screen often gets cropped on a vertical feed.
Accessibility and Metadata
Captions are no longer optional — they serve users watching without audio and improve SEO simultaneously. Add descriptive alt text in video descriptions, particularly when video clip art or animated elements convey meaning that dialogue alone doesn't capture. Rich metadata — accurate titles, keyword-driven descriptions, chapter markers — directly impacts discoverability on YouTube and in search results. Every export is also an SEO asset; treat it that way from the start.